
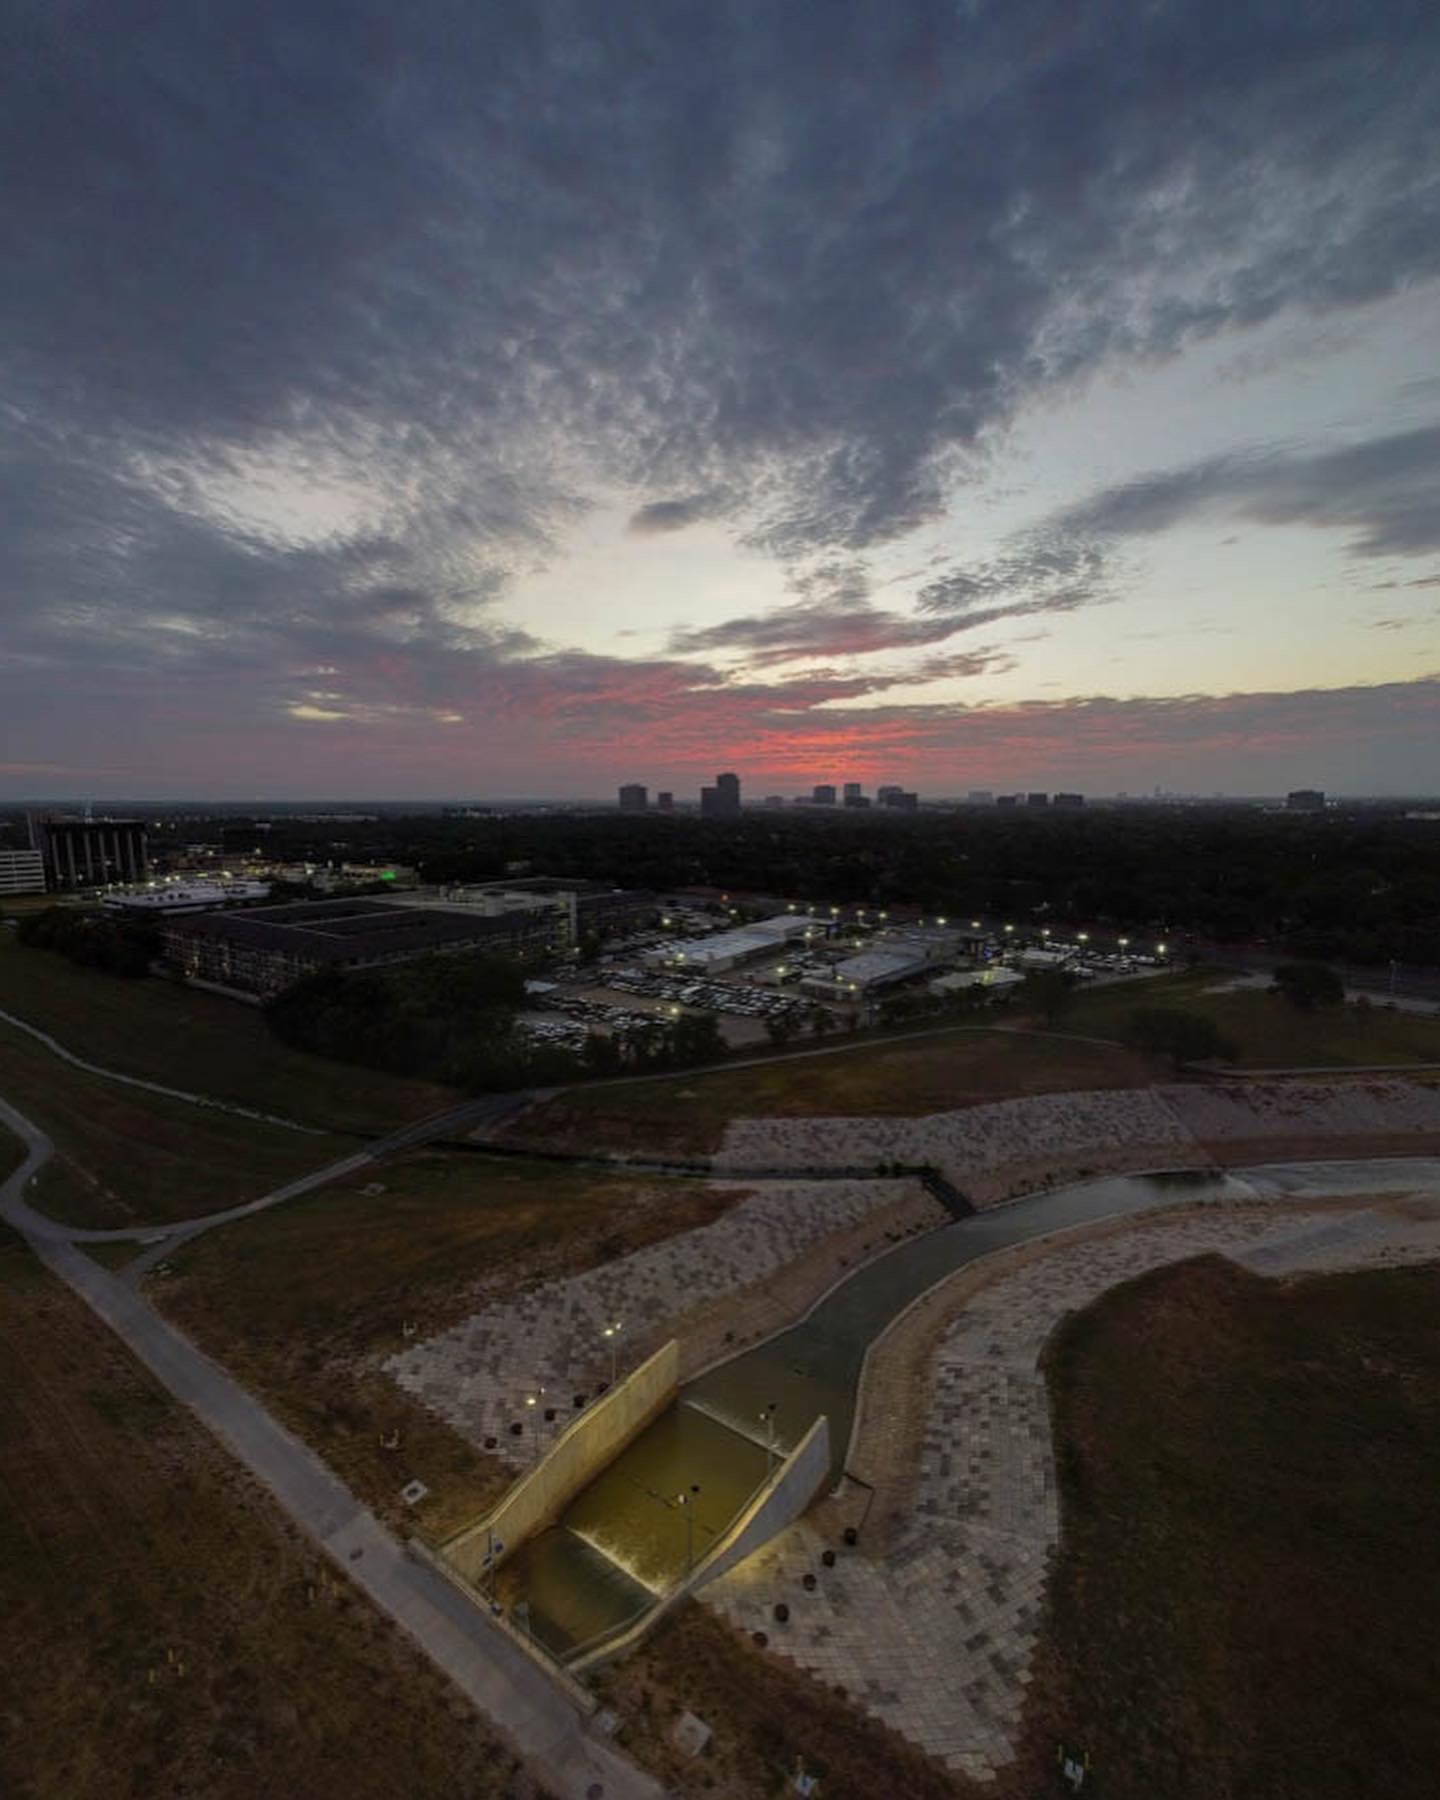
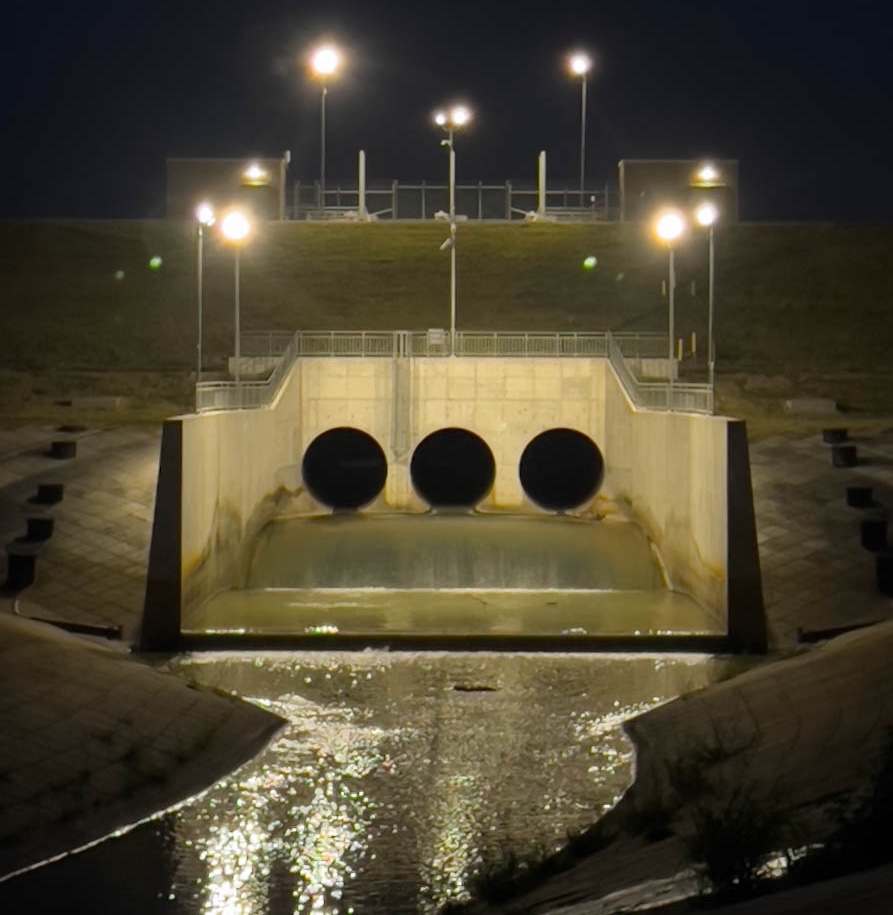
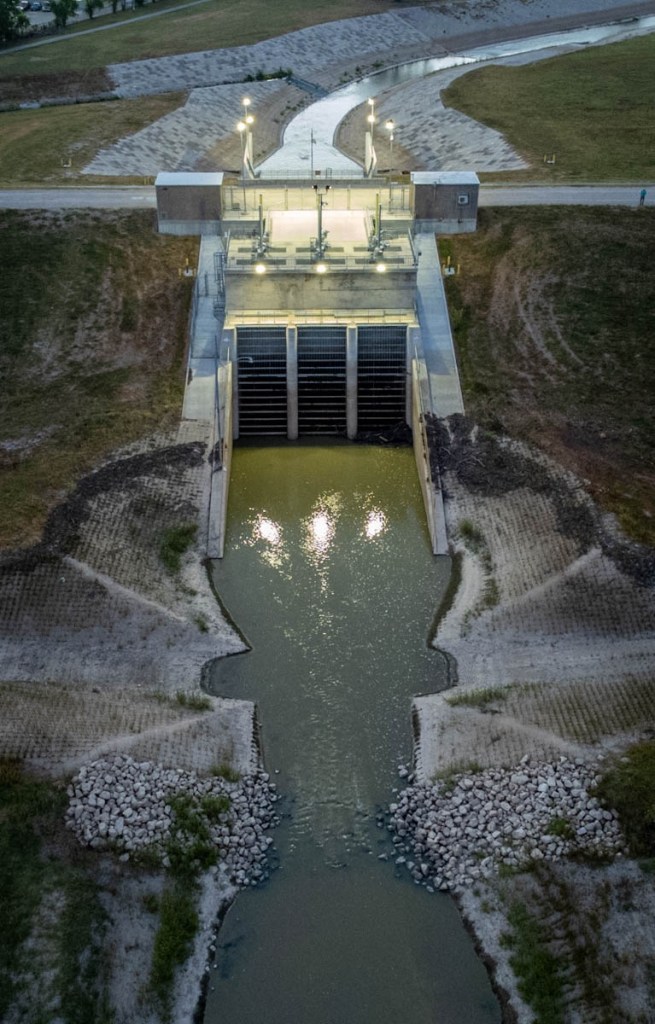
After our Grand Canyon trip of 5 days, it took me another 5 days to sort through the footage on my computer and post on Instagram, Relive, and this blog. That’s an issue for England where I want to post daily about each of our 10-15-mile days. In addition, I hope to get some great drone footage which I did not have in the Grand Canyon. With that in mind, I researched workflows and wanted to try it out locally. So, I headed before dawn to one of the highest elevations in Houston (a dam levee) to catch the sunrise and here is the result! I will start with some cool images of Barker Dam and will end with a “how I did it.”

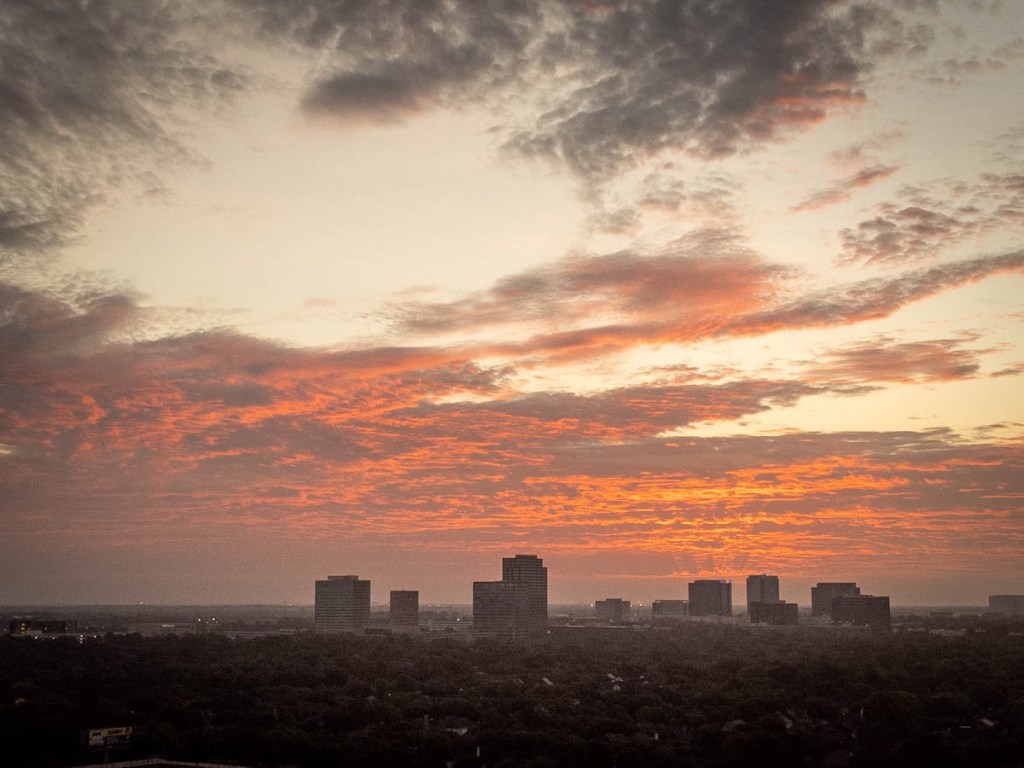

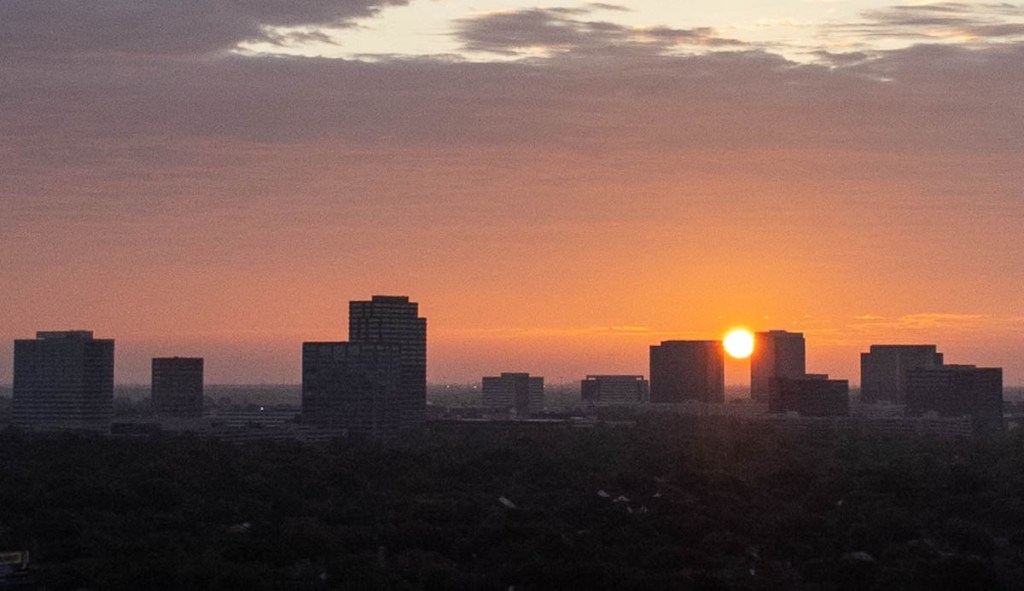


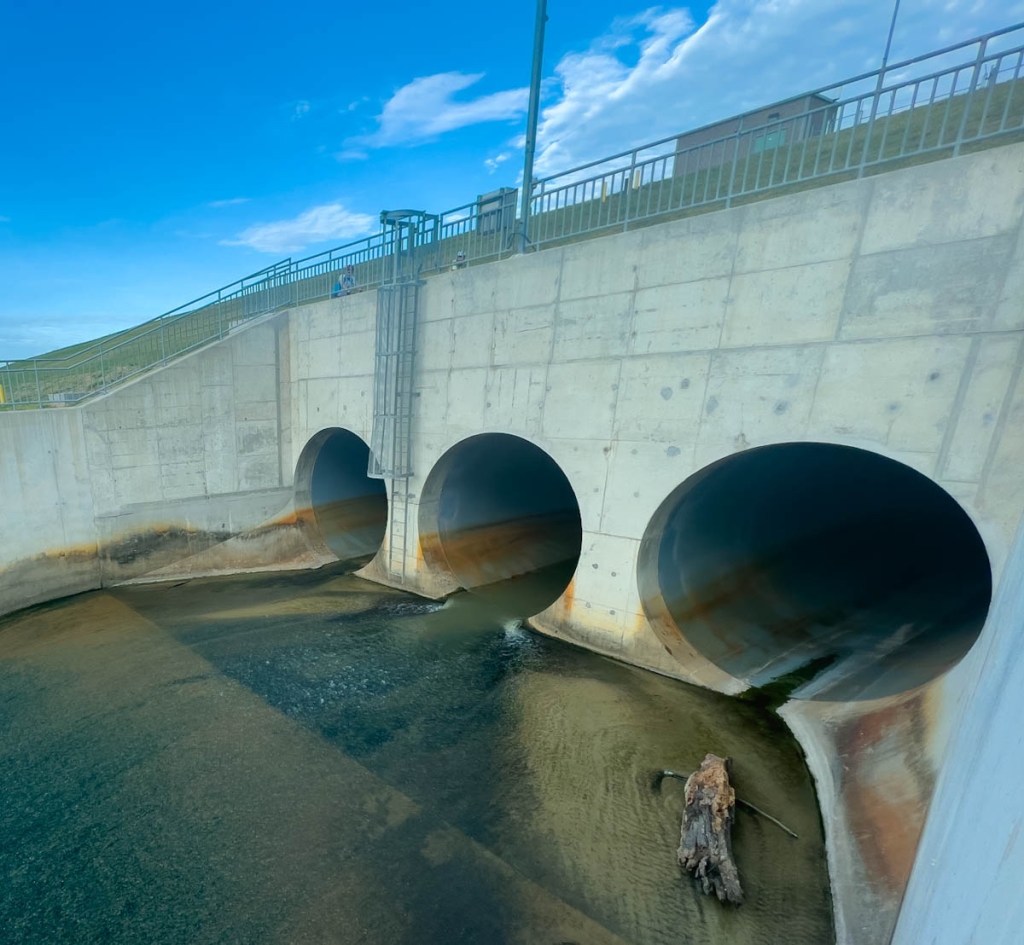
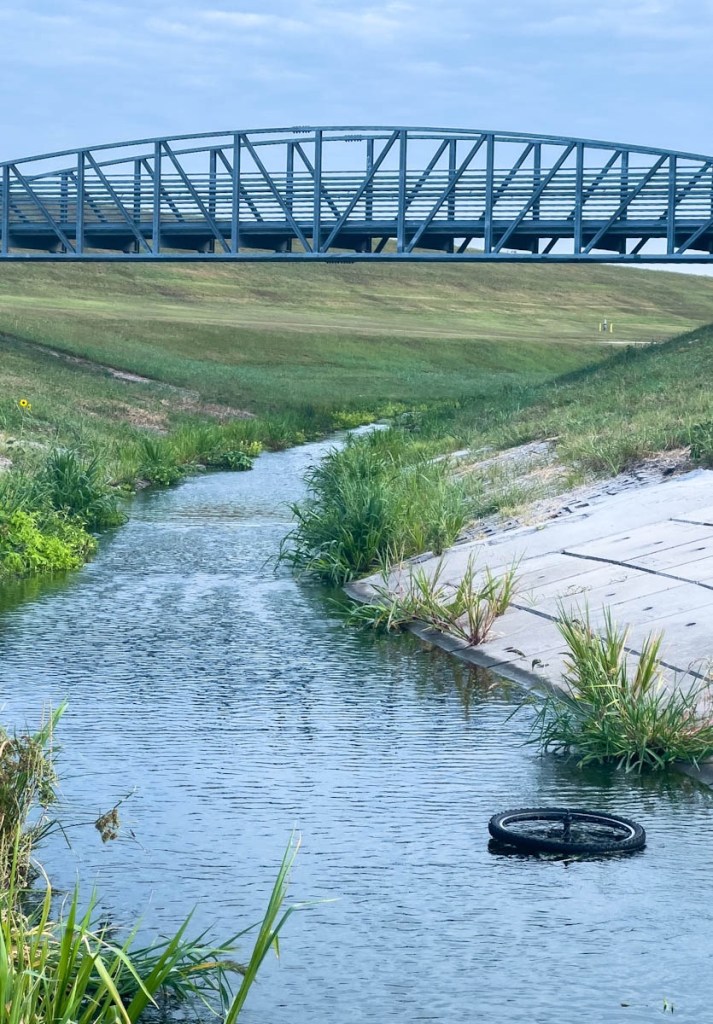

Hope you enjoyed that! Everything looks better at sunrise.
Now to switch to how I did it, which will be less interesting for most people! Thank you for reading this far, and I hope my future blogs of our Coast to Coast inspire!
The blog above was all created on my iPhone, but I have to admit that I am now switching to my computer as my hands ache! It looks like another part of my body will get a workout during our Coast to Coast hike.
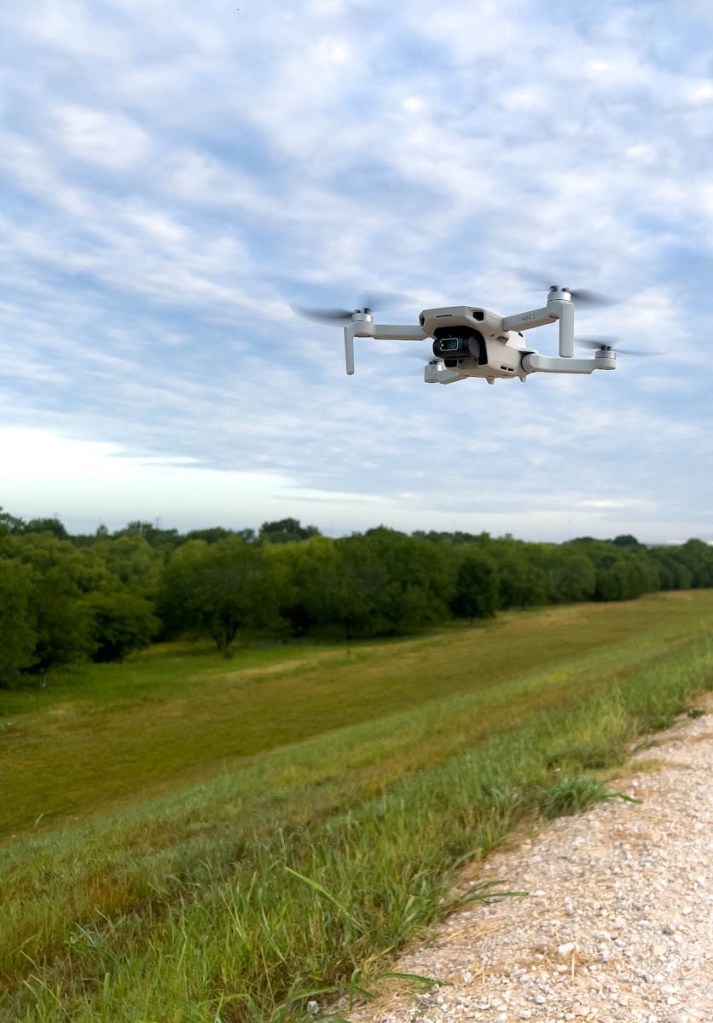
The equipment I used for this adventure was a DJI Mini 2 drone and an iPhone 13 Pro. I used the different modes on the drone (capturing raw where possible) and used both the native iPhone camera (capturing raw pictures) and the camera within Lightroom Mobile.


The challenge is defining one’s workflow to get the images from the device it was captured with onto the published media. For this experiment, I wanted to capture the best results so I tried everything I could. I learned some things just don’t work, and others might take too much time. For publishing “in the field,” some compromises are essential. My initial focus was photographs which I will describe first. Then I will describe what I did with the video, but I still have lots to learn.
To accomplish my goals, I realized that the critical intermediate step was getting the photos I wanted to publish into Lightroom Mobile. From there, I can select, edit, crop, and export at an optimum resolution (I use 1200 pixels).
The photos taken within Lightroom were the easiest of course. That is also the only way I could get HDR images. It was easy to import RAW images from the iPhone camera. A previous experiment of taking photos with Lightroom Mobile appeared to use a lot of battery, but I need to check into that again. I use the iPhone camera for shooting videos, so might forget to switch to the Lightroom camera, even if I intend to use it.
The challenge was the photos from the drone. There are three ways to get photos off the drone:
- Files that are saved in the “App Album” in the DJI app when the photo is taken. Without a computer, this is the only way to get the “Panoramic” photos that the drone takes. It is also the only way to get the automatically edited videos from Quickshots. Photos in this album can be saved to the phone’s camera roll (which it calls “album”).
- The DJI app can view the “Aircraft Album” and save photos from there to the “App Album” above. This can be done without cables or removing the memory card from the drone. However, this has three issues. First, the phone needs to be plugged into the controller and the drone turned on, which uses battery. This can be worked with. The second issue is that the app will only transfer JPEG files, leaving behind the raw DNG files. I was ready to sacrifice that functionality too. The third issue was that the EXIF data does not get transferred, which means the photos don’t have any location data. This prevents Relive from working, so was a showstopper. So, in conclusion, I don’t see any use for the “Aircraft Album” unfortunately.
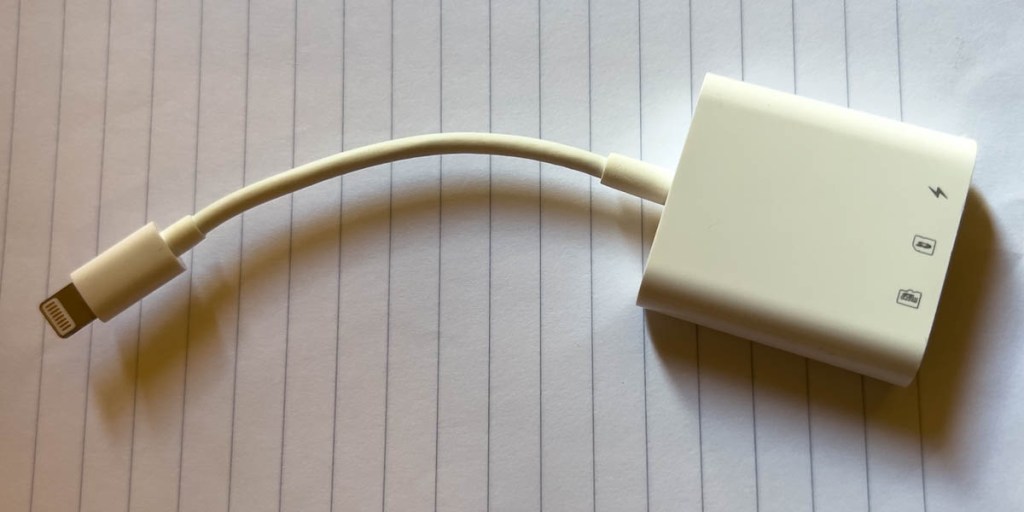
- The final option is to transfer files directly from the SD card onto your phone. This requires an adapter, similar to the one below, which works well. I was hoping to avoid this. As I have to do this to get the location data, I might as well work with the raw DNG files (which gives greater flexibility with editing). The files can be transferred directly from the card into Lightroom which is preferred. Care is required with file management on the phone or it gets very confusing!
- Even with the options above, the one thing I could not get to work was an enhanced HDR photo from the drone. (HDR is “High Dynamic Range” which allows even more flexibility when editing the photo.) It has an “AEB” mode which takes a burst of three bracketed photos. The DJI app does not merge them, and Lightroom Mobile will only HDR merge photos when taken natively. I did find having the bracketed photos gave me flexibility in choosing what I wanted, but it creates 3x the number of files which is more time. In future, I will use AEB sparingly when wanting to publish quickly. However, now I cannot find that HDR photo, which highlights the challenge with file management!
So, having removed 2/3 of the AEB photos and other quick rejects, I was left with:
- 2 panorama photos from the drone
- 11 photos taken on the iPhone
- 2 photos taken with the Lightroom camera
- 16 photos taken with the drone.
I did some editing in Lightroom and cropped moderately and exported at 1200 pixels. When exporting “save as” in Lightroom mobile, you cannot export multiple photos to the camera roll, which inserts an extra step of exporting to a folder, and then onto the camera roll. The photos must be on the camera roll for the publishing apps to see the photos.
While the sequence of publishing can be any, I published my favorite 10 photos to Instagram first, which also publishes to my Facebook account. I choose which part of the picture shows in the crop when selecting.
Next, I worked in Relive. I use the free version, so I am limited to 10 photos, and only have one chance to make their video. I already have 10 favorites selected from the Instagram post. While I was better prepared with photos than my previous attempts, the route I had walked went round in circles somewhat which impacted my GPS track (from my Garmin Instinct watch which Relive syncs to via the Garmin Connect app). When walking a clear point-to-point, it should work better. I inserted the Relive result in the blog above. If it ends up being really good, I will publish this. When hiking with a group, this will be fun to share with the rest of the group to remember the difficult bits!
Next, I worked on the video, but I will cover that later as the focus is photos. So I will describe this blog next. Doing this on the phone is easy. It takes a bit of practice to do the clicks in the right sequence. Hopefully my fingers will get stronger and I don’t get a repetitive strain injury! If you have read this far, you have already read most of this blog post!
Finally, I will talk about video. I have not done much videoing, and I am cautious to do it as it opens up so many extra dimensions. On the trip to the dam, I shot 11 videos with the drone and one with my iPhone. For the drone footage, the DJI app has a simple to use photo editor which is a very good fit for editing “in the field.” It will only work with DJI videos. I chose to use the DJI-enhanced Quickshot videos, rather than their raw version, but that is a choice for next time. Remember that the quickshot videos have to come from DJI’s app, not the SD card.
To wrap up, here is my shortlist of key lessons learned:
- You can’t get an HDR from the AEB photos off the drone in the field.
- Panoramic and Quickshot images from the drone have to be dowloaded by DJI’s app.
- To get the location data associated with images, they must come from the SD card.
- Managing the files on the iPhone is essential and difficult. I kept ending up with duplicates in the camera roll. I need to find a way to improve this aspect.
Above I have described what I was unable to find elsewhere. In my research, I found videos on a variety of topics, including (a) publishing from DJI mini to Instagram, (b) editing DJI mini 2 photos in Lightroom Mobile, (c) using the video editor in the DJI app, and others I am sure.
If anyone reading this has tried the above and has found better ways to do it, I would love to hear. I know I will have to compromise what I publish/post due to time constraints, and hints should make me quicker! Take care, and happy shooting and drone flying.
