
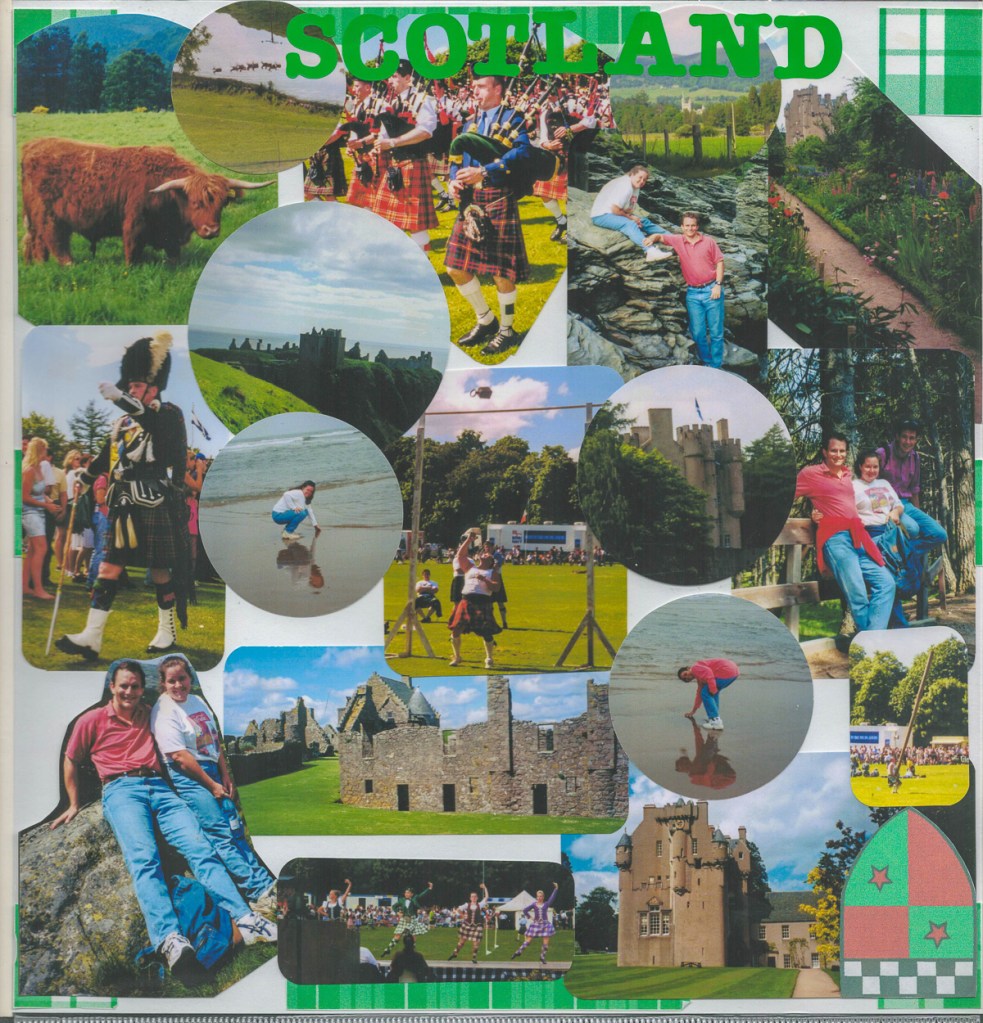
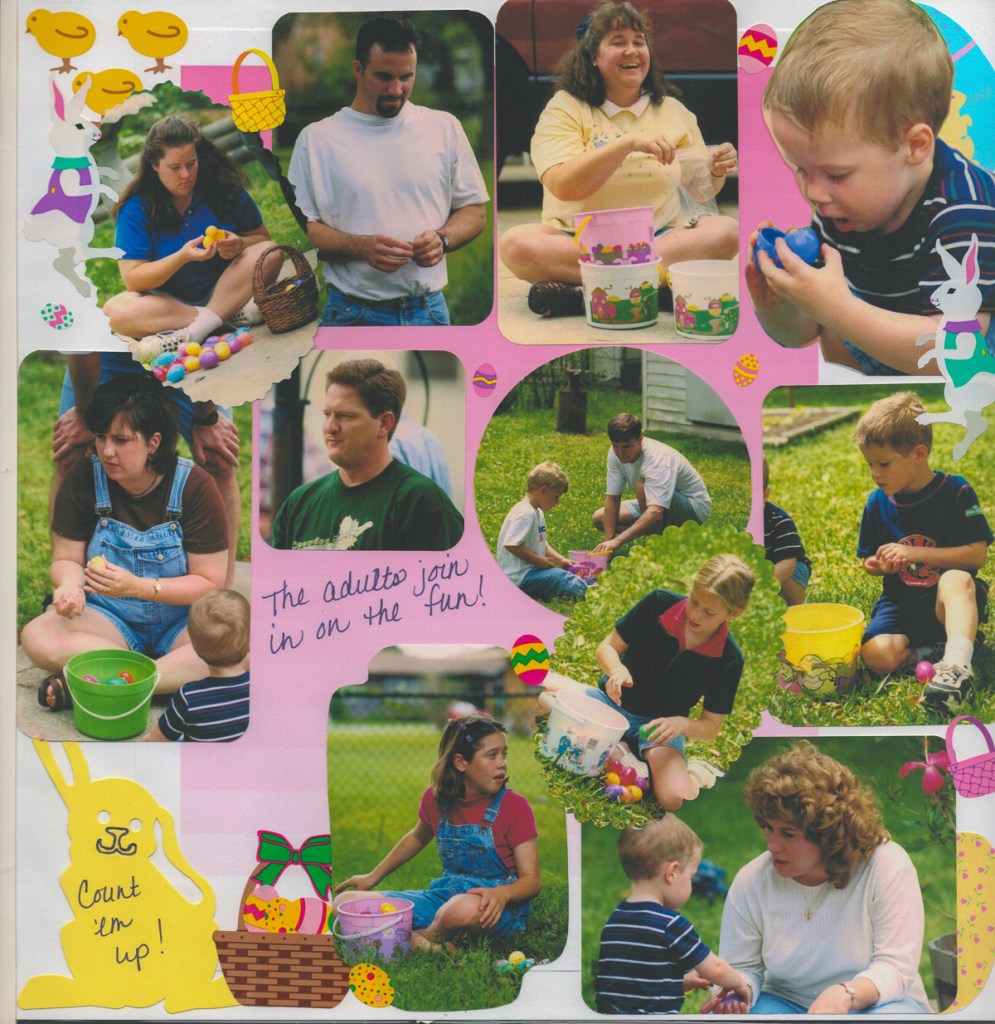
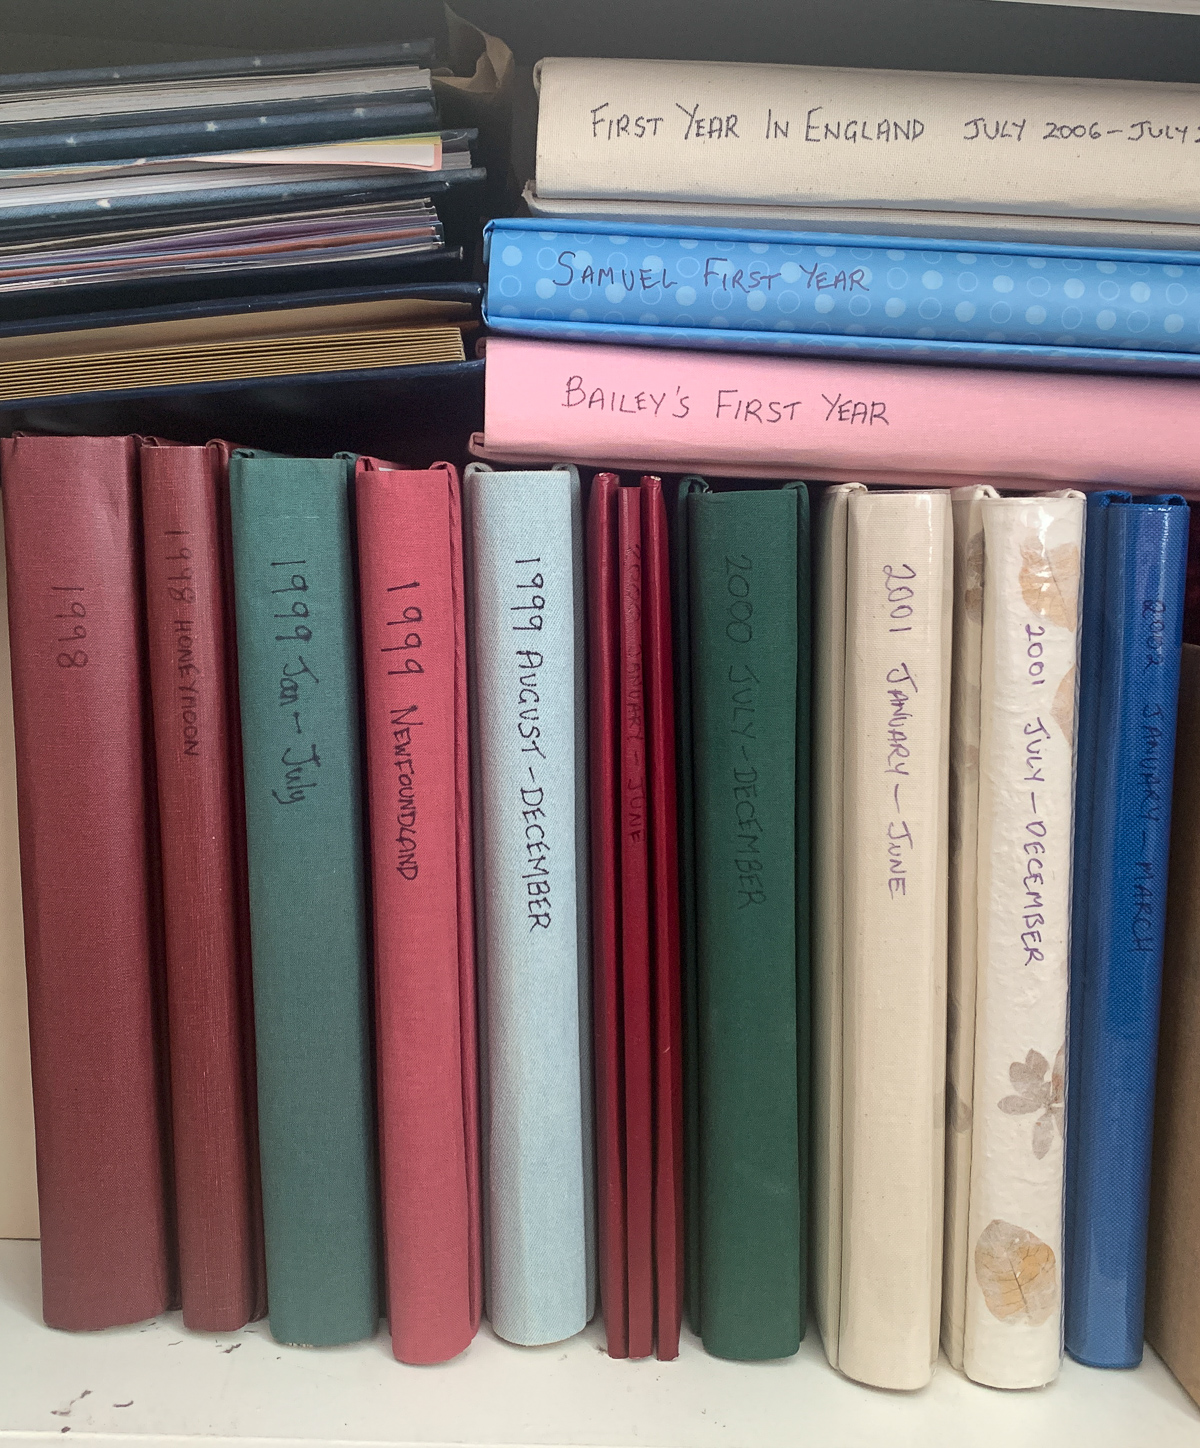
Before everything went digital, Janet used to create inspiring scrapbooks of our adventures. They sit on the shelf, occasionally brought out for some fantastic memories, but there remains the nagging concern that they are not “backed up.” While a digital copy cannot do them justice, I’ve just finished scanning the scrapbooks so this post is to celebrate!
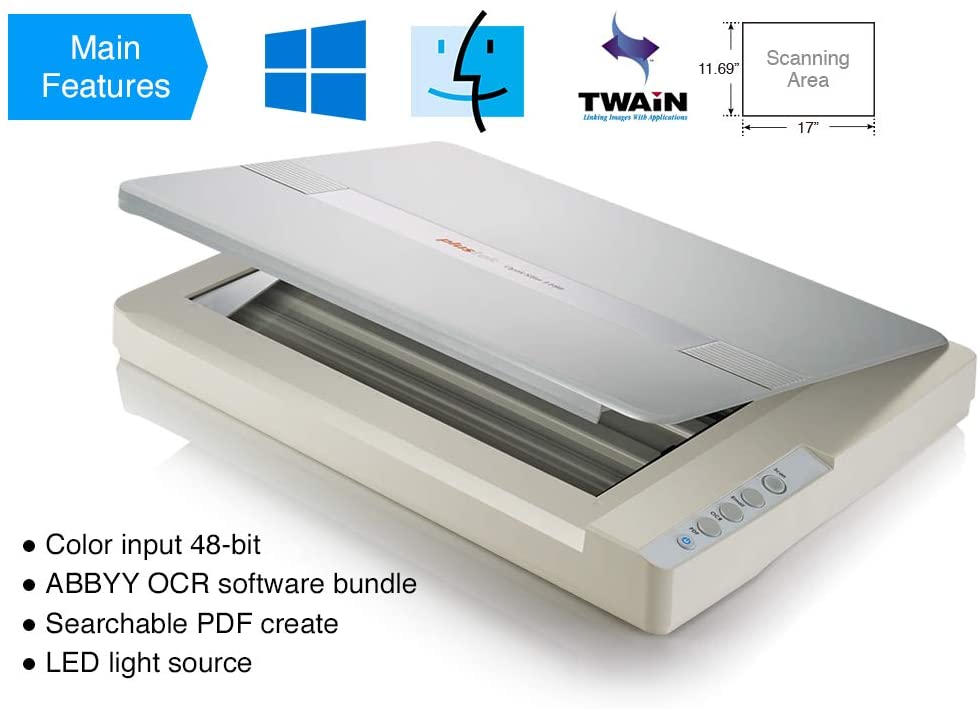
I chose to buy the Plustek OpticSlim 1180 scanner. It describes itself as A3 and it has a scanning area of 12″x17″. It cost $349 from our friends at Amazon.
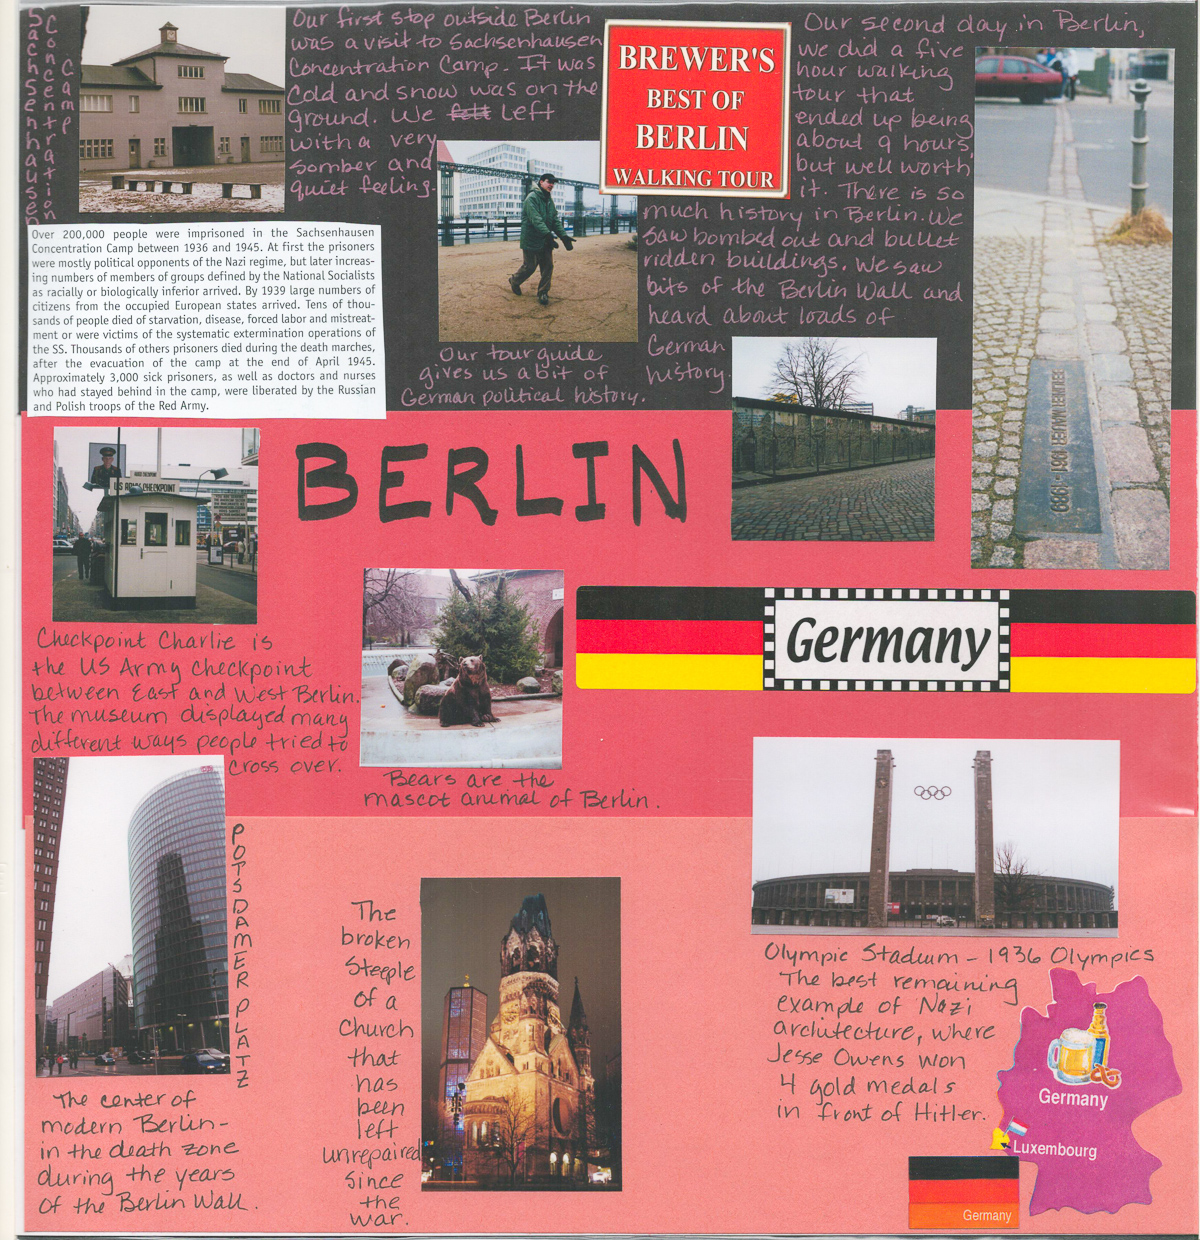
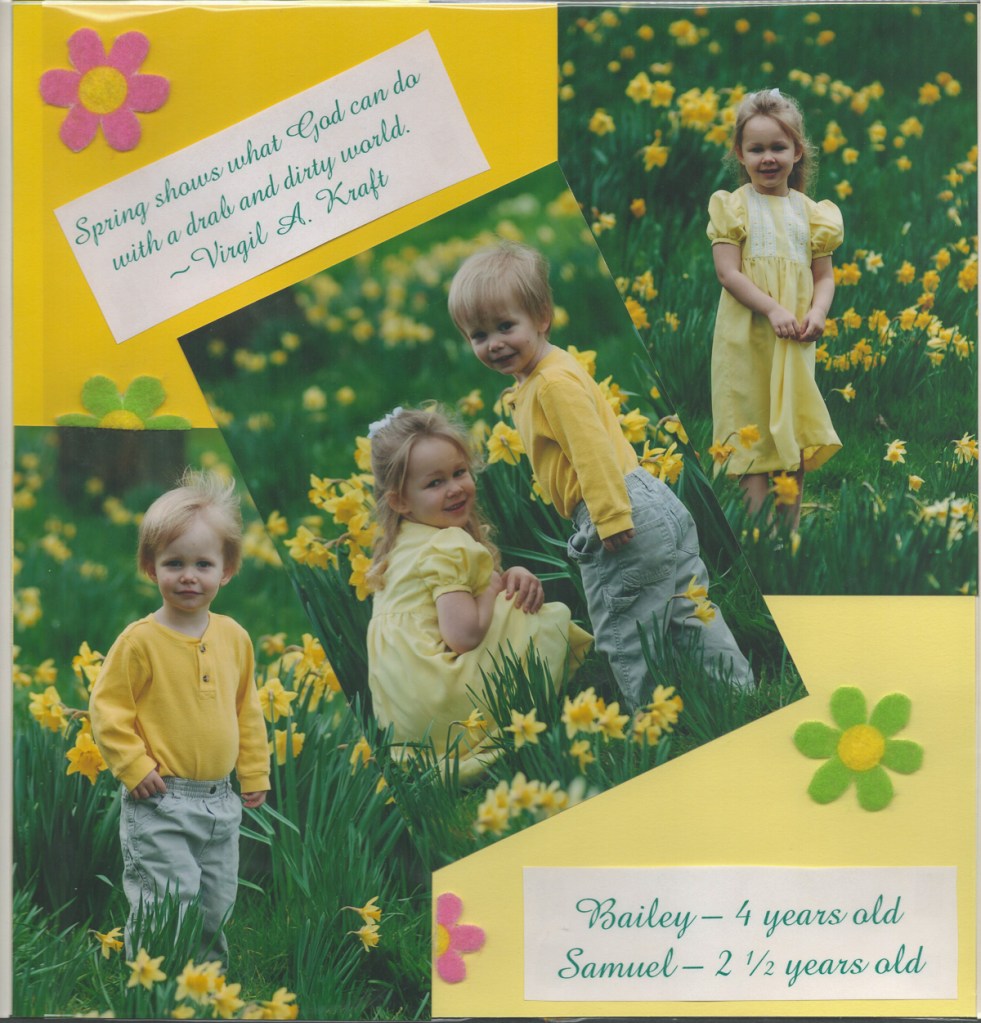
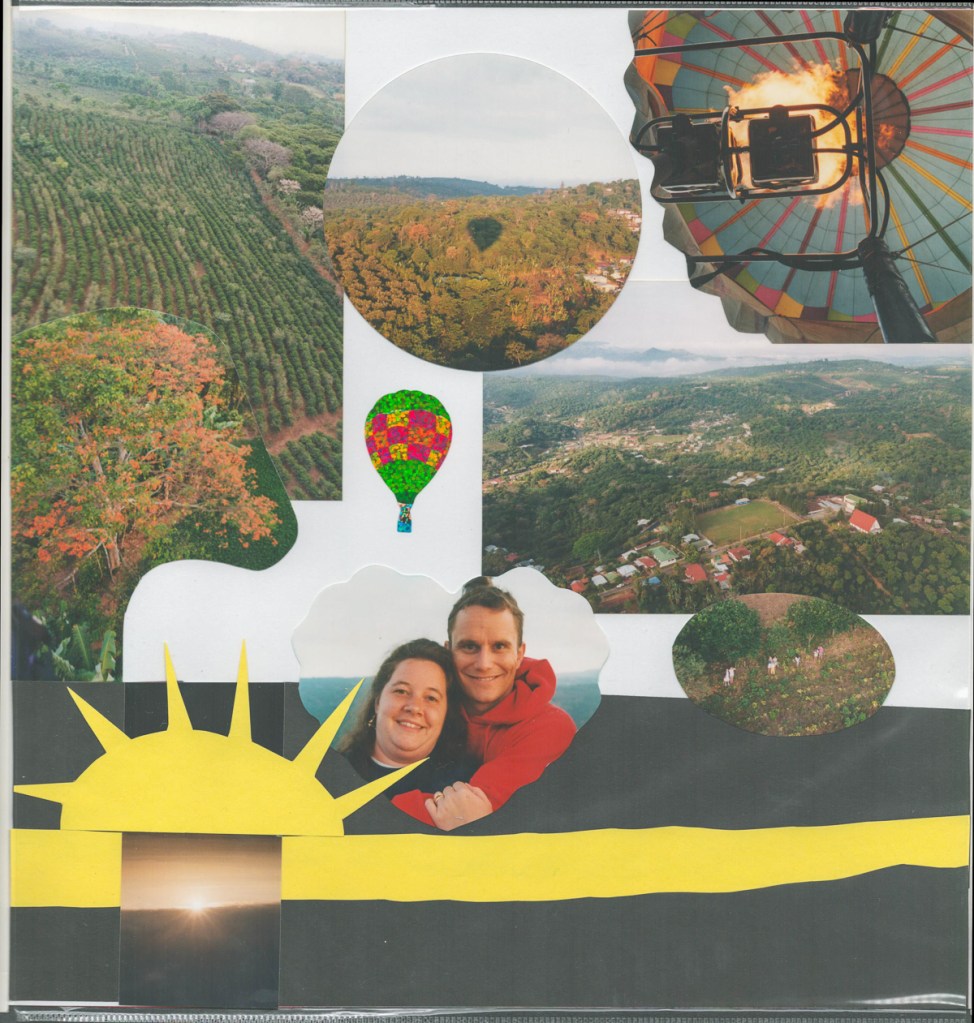
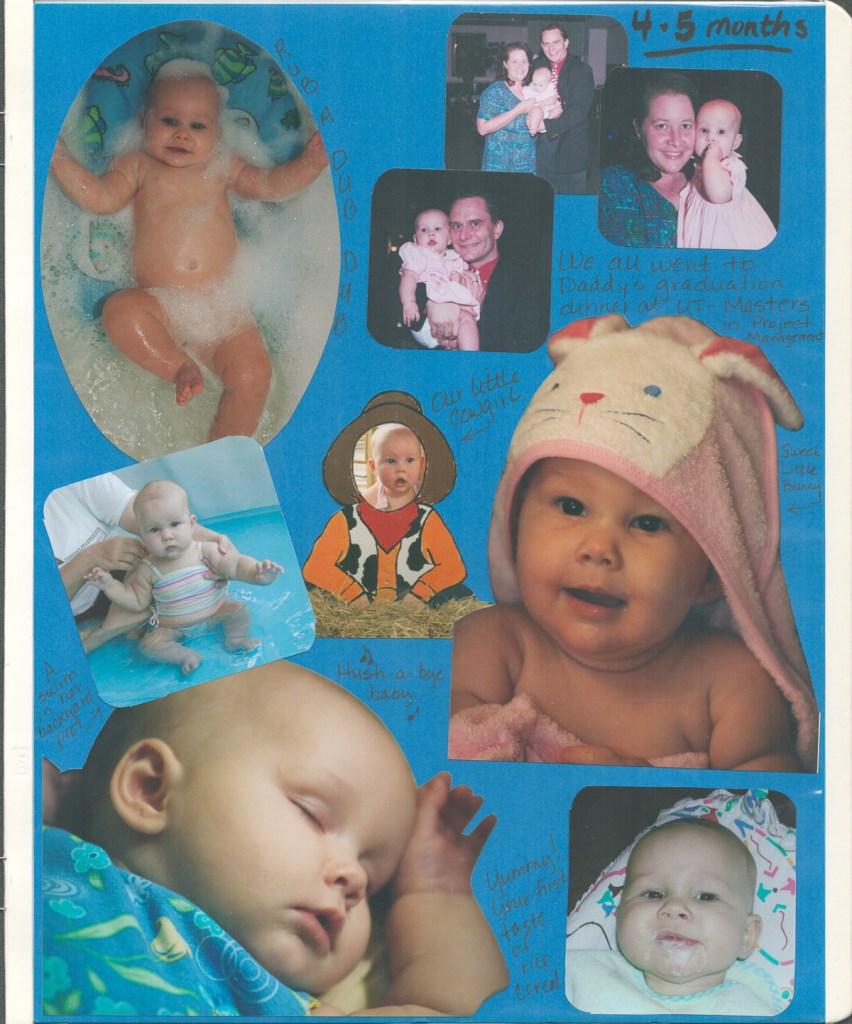
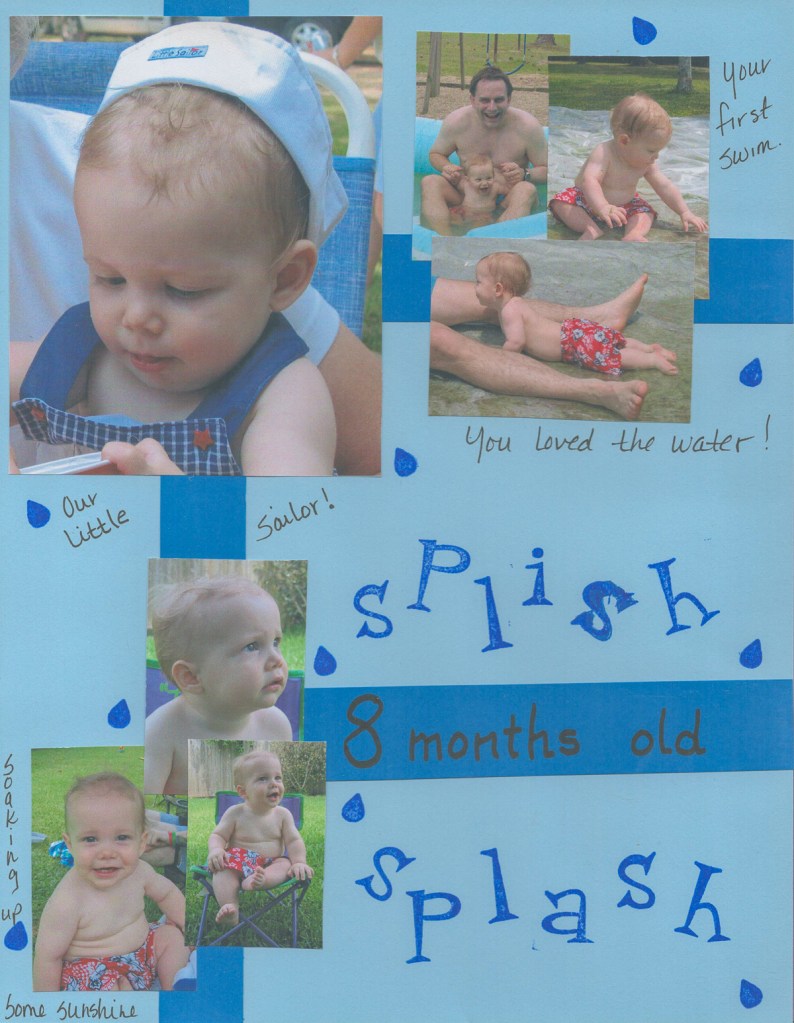
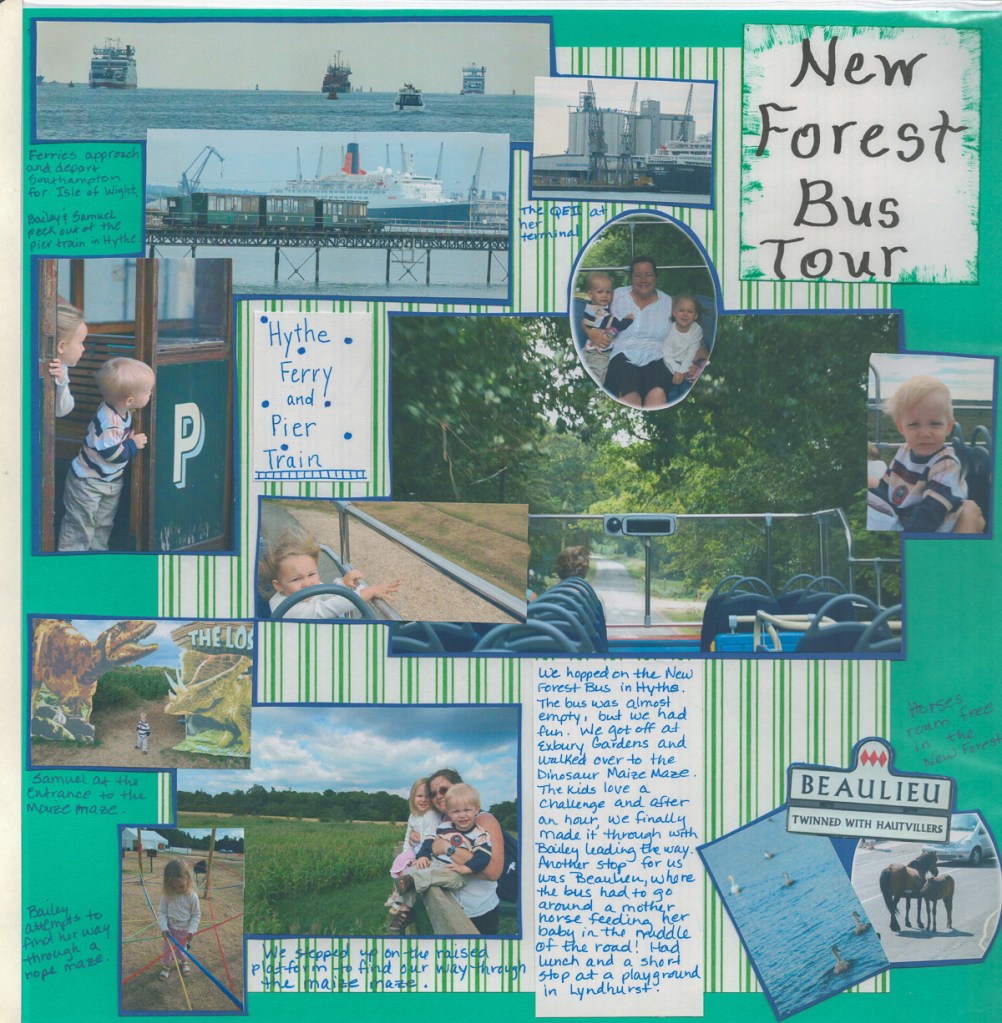
I’ve uploaded a few of the results to this post. I’m very happy with the results for what I was trying to achieve, though I was using excellent scrapbook pages! What do you think?
I went this route because:
- I had about 700 pages to scan in 15 scrapbooks. This would be cheaper than using a scanning service, and I did not want the scrapbooks to leave the house.
- I read a few reviews of how others had done it. Compared with trying to photograph the pages, or scan on a smaller device and stitch, this seemed the best way.
- The reviews of this scanner indicated it did not do the colors in photographs justice, and this is supported by Plustek’s literature, who have one designed for graphics but is ~$550. I wasn’t interested in the best possible copy, more something to preserve the memory “just in case.”
- When we started scanning, we tried to remove the plastic sheet, but there was a risk of damaging the pages, and it took a lot more time! Given the intent, we scanned all the pages with the plastic sheet which degrades the image, but not the memory.
- After scanning at 300 dpi, I imported each image into Lightroom where I:
- Straightened if needed.
- Cropped if needed. Sometimes the image was of the whole scanning bed.
- Applied the “Auto” tone correction which improved it 95% of the time.
- Created a single PDF file of all the photos as a “book.”
- Exported my edited copies of the photos and deleted the original scans.
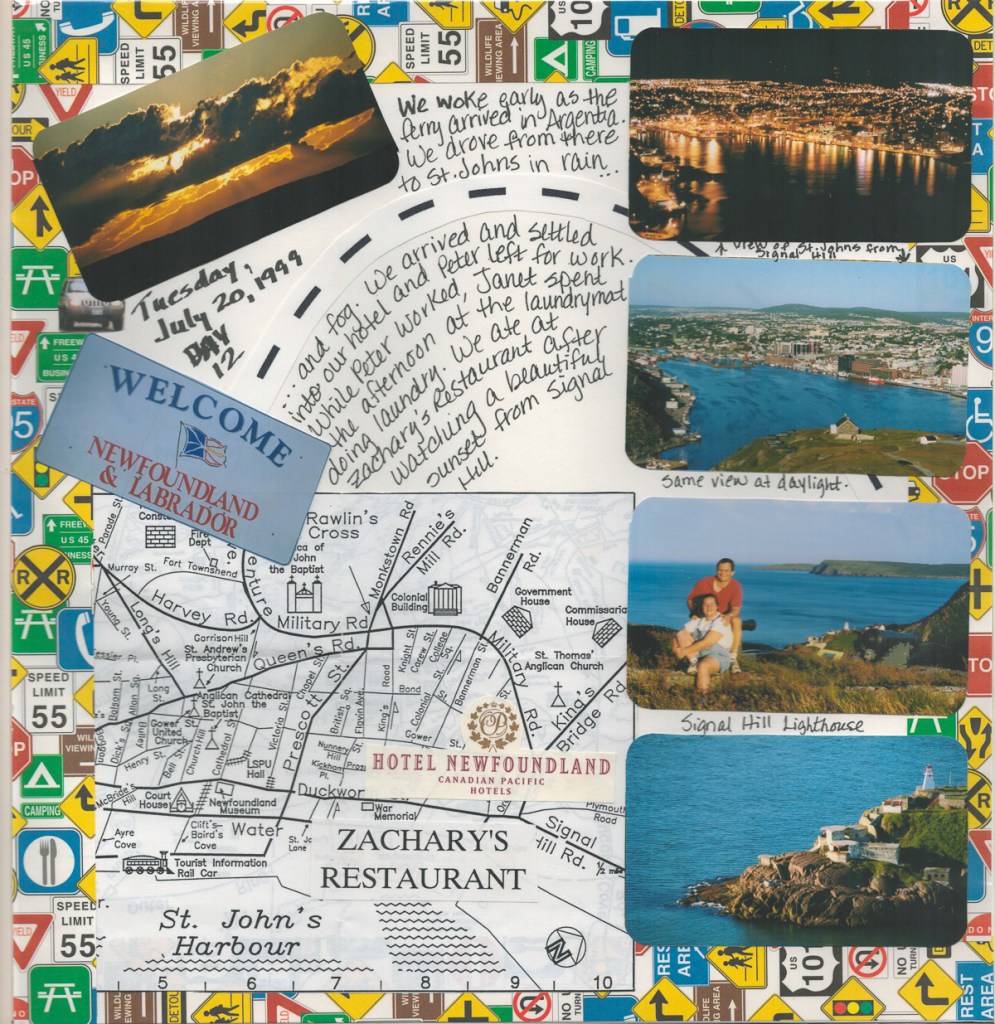

This is what the finished PDF looked like of our Newfoundland road trip. I made this version with lower resolution for the web.
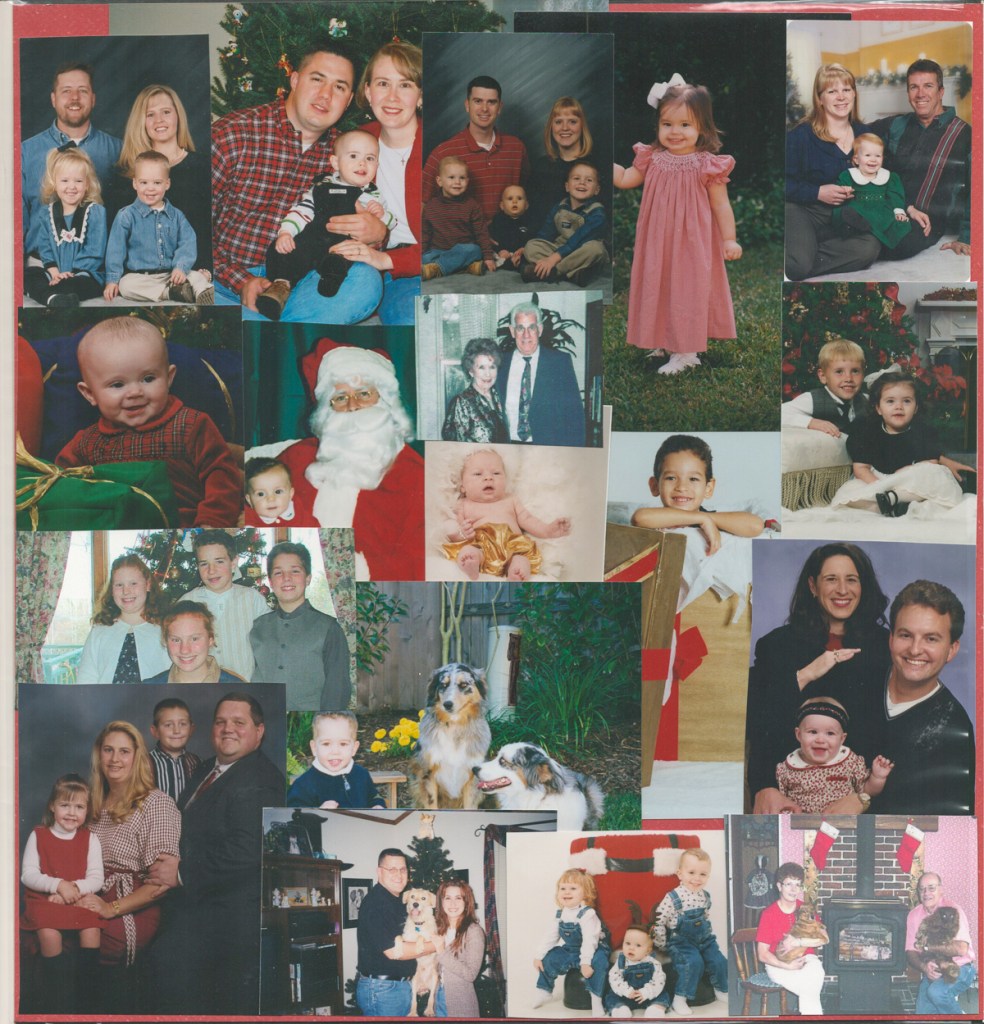
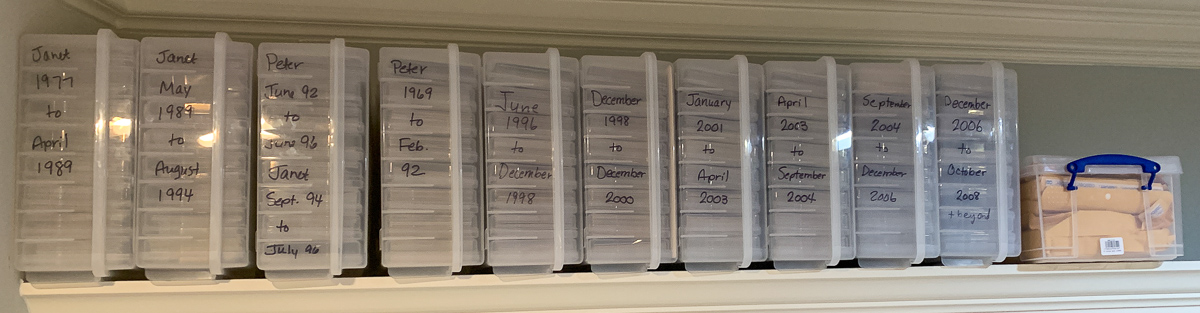
This is (nearly) the final step in a major exercise to digitize all of our photos. We also used an Epson Fastfoto FF-640 to scan all of our prints. That cost $450. Amazon only seems to sell the FF-680W now which is $600 and wireless. I was happy with this for what it did, but be careful setting expectations too high. The main advantage of this is that it will feed the photos. It allows multiple photos to be stacked, but more often than not multiple photos would feed at the same time, so I ended up feeding one at a time. This took about 1-2 seconds per photo, which is much quicker than a flatbed. We had approximately 15,000 photos (generally 4×6 prints) in simple albums without additional information which took up a whole large bookshelf. After scanning, the photos are kept in 10x “IRIS USA 4″ x 6″ Storage-16 Inner Keeper Organizer Cases Storage Containers Box for Photos.”
This was our workflow:
- Organize all of the albums and any loose photos chronologically
- Remove the photos from an album
- Set up the scanning software:
- To set the top-level folder to the year (that is how I organize my photos)
- Set the year and month of each batch of photos and put them in a subfolder.
- The year and month also set the “date taken” for the photo, which is used to set the timeline in software like Google and Amazon Photos.
- Scan each batch, either as a stack or one-by-one.
- Check the results. Rescan if necessary (rare)
- Clean the scanner if lines noted on scans (a few times)
- Put photos away and label box with dates
It is critical to have a backup of your photos. We do this in several ways, each one giving an additional feature:
- Primary backup is OneDrive. This also allows easy access from other devices like another PC or phone. We used to use Carbonite, but find OneDrive better. I use about 700 GB of the 1TB limit for the basic plan.
- All photos are backed up into Google Photos. This is great for sharing albums with others, and the way it uses facial recognition to groups photos together (albeit a bit scary!). We have over 15,000 photos with each of our kids in (also a bit scary!). However, Google photos compresses the photos so is “lossy.” I’m currently using about 10GB of the 15GB you can use for free with about 150,000 photos total.
- Recently, I’ve also backed up all the photos to Amazon Prime Photos. This is NOT lossy, so is better than Google for that. However, I don’t like the album sharing as much. It also allows you to show an album on a Fire TV device, so you can turn your TV into a massive digital picture frame which is cool.
I should add that I did NOT try to scan any negatives. The result would have been better, but a combination of the volume and the overall quality wasn’t worth it.
And here is the result: one large bookshelf condensed into a few cases, and scrapbooks safely backed up!
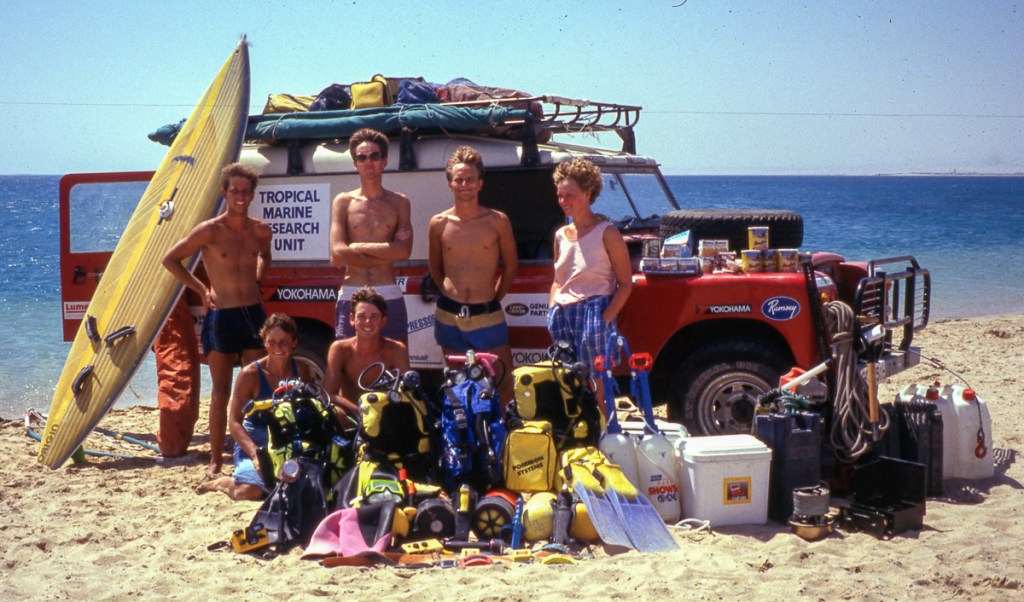
However, I also have about 700 slides from various adventures in my youth. These needed scanning. I looked at a few options, and chose a local service which is close to $1 per slide. Sorting those out is my next project, but here is a taste:
Having sorted out all of the old photos, I can focus more on new ones!
This page is linked to from my What I Use page
