

This is a quick description of how I shot the sunrise photos I posted separately. Most of the work is done by a DJI Mini 2 drone and in Adobe’s Lightroom software, both of which I am quite new to.
This was my second attempt to take sunrise photos from our house. I’d had a few practice flights already to be familiar with flying and the DJI photo controls so now was ready to get some good photos. It takes some planning to ensure “you” are in the right place at the right time to take the photo. For me, this meant checking my drone the night before, ensuring batteries were charged and the firmware was current. I checked weather apps such as The Weather Channel and Accuweather, and a neat drone-specific app called UAV Forecast. While I could easily see that sunrise was going to be at 6:57am, the app Sun Surveyor is another cool app which confirms the direction of the sun and moon at different times, and will allow me to plan for future shots. I also made the pot of coffee!
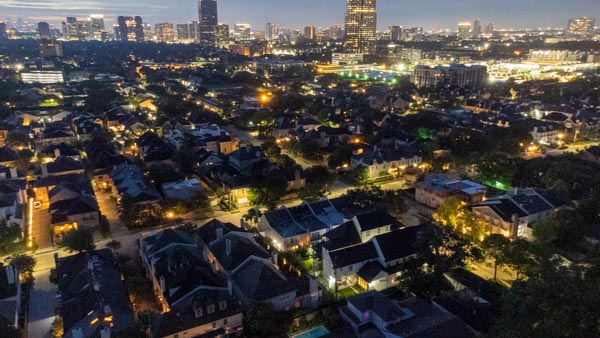
With coffee cup in hand, I head out to the end of my driveway about 40 mins before sunrise and take off. From my first attempt, I’d learnt to turn on some lights on our driveway, and to position the drone at about 300ft elevation and about 500ft away from the sunrise, to get our house/driveway in the photo as well as the horizon.
The DJI Fly app has some pretty cool features. The first one is the Panoramic photo. I point the drone’s camera at the sunrise and select the 180 degree option, and immediately 7 separate photos are taken and placed in the same folder on the DJI memory card under “PANORAMA”. The DJI software then stitches these together into a single panorama. These 7 are below, having applied an auto-tone adjust in Lightroom. The originals are 2000×1500 pixels. Below is the sequence that the mini 2 takes the photos, starting in the middle then going


Below is the resultant stitched panorama that comes out of DJI. This original is 7024×1339 pixels.

Exciting for something that comes straight off the device and could be shared within a minute of shooting it! However, it is quite limiting in that the resolution is not very high, and there is not much room for further enhancement of the JPG.
So, option 2 is to shoot the panorama by manually changing the position of the camera. To capture the most information, you want to shoot the pictures in RAW. Also, DJI has a really cool “AEB” feature which stands for Automated Exposure Bracketing. It automatically takes a burst of 3 photos, separated by about 1 f-stop (EV). These 3 photos can be combined in Lightroom to make an HDR photo (similar to what iPhones do, but with more control). HDR = High Dynamic Range. The icing on the case is that Lightroom has an “HDR panorama” mode which can combine all of the AEB bursts of a panorama into the one photo.
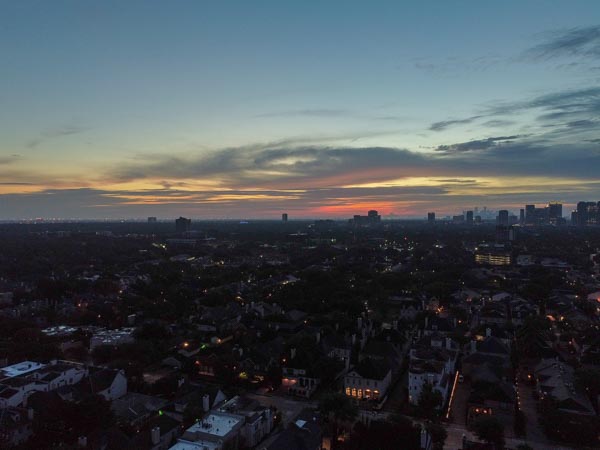
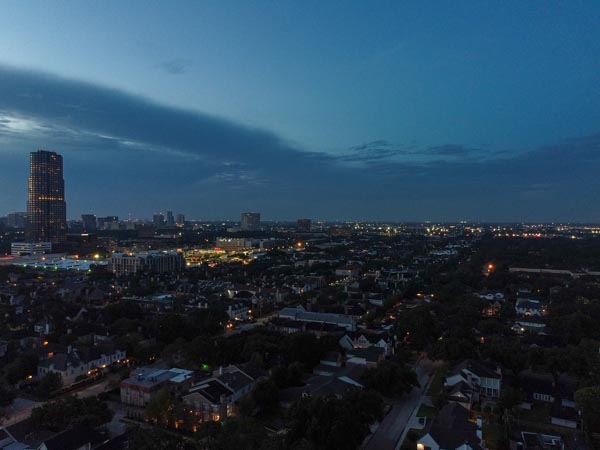
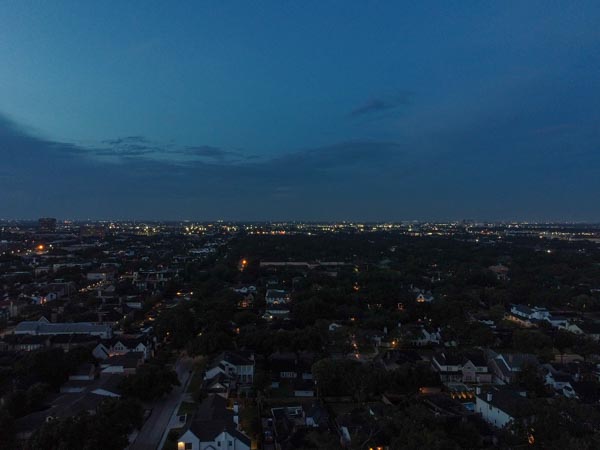
With the drone in the same position as the photos above, I take 6 sets of 3 AEB photos. I’m not trying to reproduce the 180 degree panorama exactly. Just for illustration, I show 6 HDR photos below created using Lightroom, laid out as per the panorama. While I could have done this and then merged into a panorama, Lightroom will do it all for you in one step. Each original photo is 4000×3000 pixels if shot 4:3 or 4000×2250 pixels if shot 16:9.


I select the 18 photos and choose the HDR Panorama option under Merge Photos in Lightroom. This took a couple of attempts. The guides to this warn you about how the settings into the photos need to be the same. My problem was that after importing the raw photos into Lightroom, I had grouped the triplets into stacks. To select all 18 for the HDR Panorama, I had to expand those stacks. With so many different photos, staying well organized is critical, and I am still learning how to do that in Lightroom.
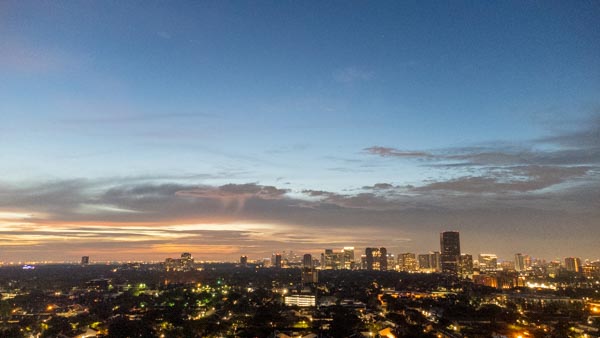
The computer CPU whirrs for a while and produces the photo below. It’s 7012×3849 pixels, but covers about 90 degrees of the horizon compared to the 180 degrees of the default DJI one. Also, the file is RAW so can be further manipulated. For example, I worked to reduce the noise which won’t be visible in these pictures, but I am interested in making a large print of it.
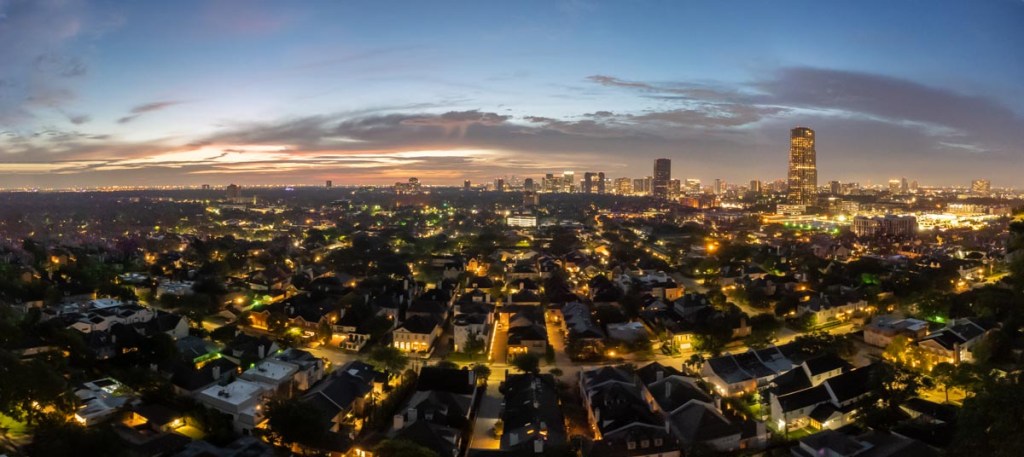
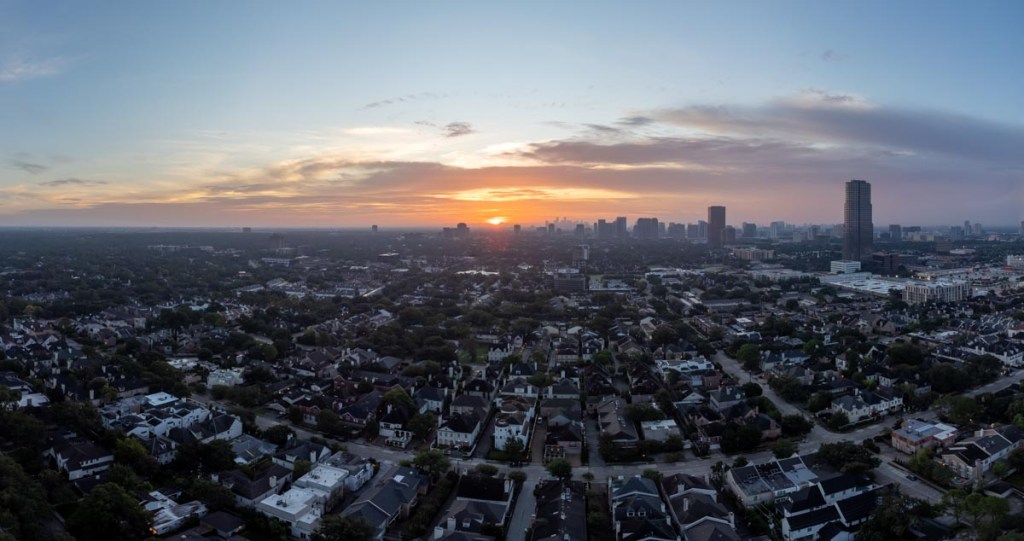
Below is a quick comparison of the DJI default panorama, and the HDR Panorama from Lightroom, using the best of my current abilities!


It’s unpredictable how the colors of the sunrise will play out. This time around, I took 5 sets of the 18 photos at 6:25, 6:38, 6:56, 7:00 and 7:03. The sunrise was 6:57, and I had to land after the first two sets to change out the battery. The above was shot at 6:25 and is my favorite. My next favorite was shot at 7:00, just 3 minutes after sunrise.
Another really cool feature in the DJI Mini 2 is the ability to take 360 degree panoramas. This time, it takes a set of 26 photos and the DJI software merges them into a single image. It stores the 26 photos as jpegs and these can be merged together in Lightroom. However, I did not attempt to shoot these 26 manually to get RAW files, and so I saw little point in trying to remerge them in Lightroom. There are two ways to see the result of these 360 photos.
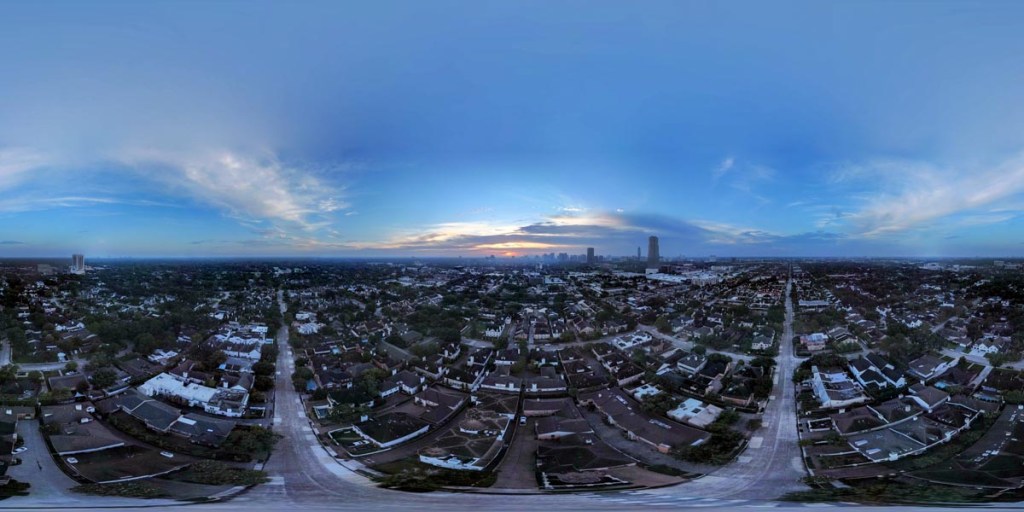
The resulting 360 photo is shown below. The original photo is 4096×2048 pixels. Note that when I pressed the button to start the 360 pano photo, I had the drone pointing towards the sunrise. Like this, it looks kind-of funky.
To make the photo interactive in on line softwares such as Facebook or WordPress, the “metadata” needs to be changed. The web suggests different ways of doing this. The easiest for me was to open the photo in Photoshop, turn it into a “Spherical Panorama” from the 3D menu, then Export that panorama from the 3D menu (not a regular save). This saves the file as a JPEG with the correct 3D metadata. This can be uploaded onto Facebook, which recognizes it as 3D and enables the interactivity options.
To make it an interactive 360 degree photo in this blog (WordPress), you need to insert a “shortcode” block, and use the shortcode “
“, with the URL being the photo that you have already uploaded.Another cool way to view the 360 panorama is on DJI’s Skypixel website. From the DJI Go app on your phone, you can select the 360 panorama and choose to upload it to Skypixel, where it goes into your account. You can give it a name and description and tags, and can choose whether it is public or private. If you want anyone else to see it, you need to the privacy to public. You can then share a link such as
https://www.skypixel.com/photo360s/check-out-my-new-content-a87264c7-1014-42a6-ab82-8ea8601a8833?utm_source=copied&utm_medium=PCWeb&utm_campaign=share&sp=0
I have not found a way to either export this, or make the link “embeddable” on this blog or Facebook, which limits it a bit. DJI want to keep you going to their Skypixel website.
There is one detail I’ll point out. When you first click the link, you “fly” into the picture. You will note there is a line of lights along a driveway in the center of the picture, which is my driveway. To make it work this way, you have to press the “360 pano” button on the drone with it facing in the opposite direction.
I hope this has been interesting! Feedback, comments, and subscriptions are welcomed 🙂

Wow!! great images..I don’t have a drone.
LikeLike